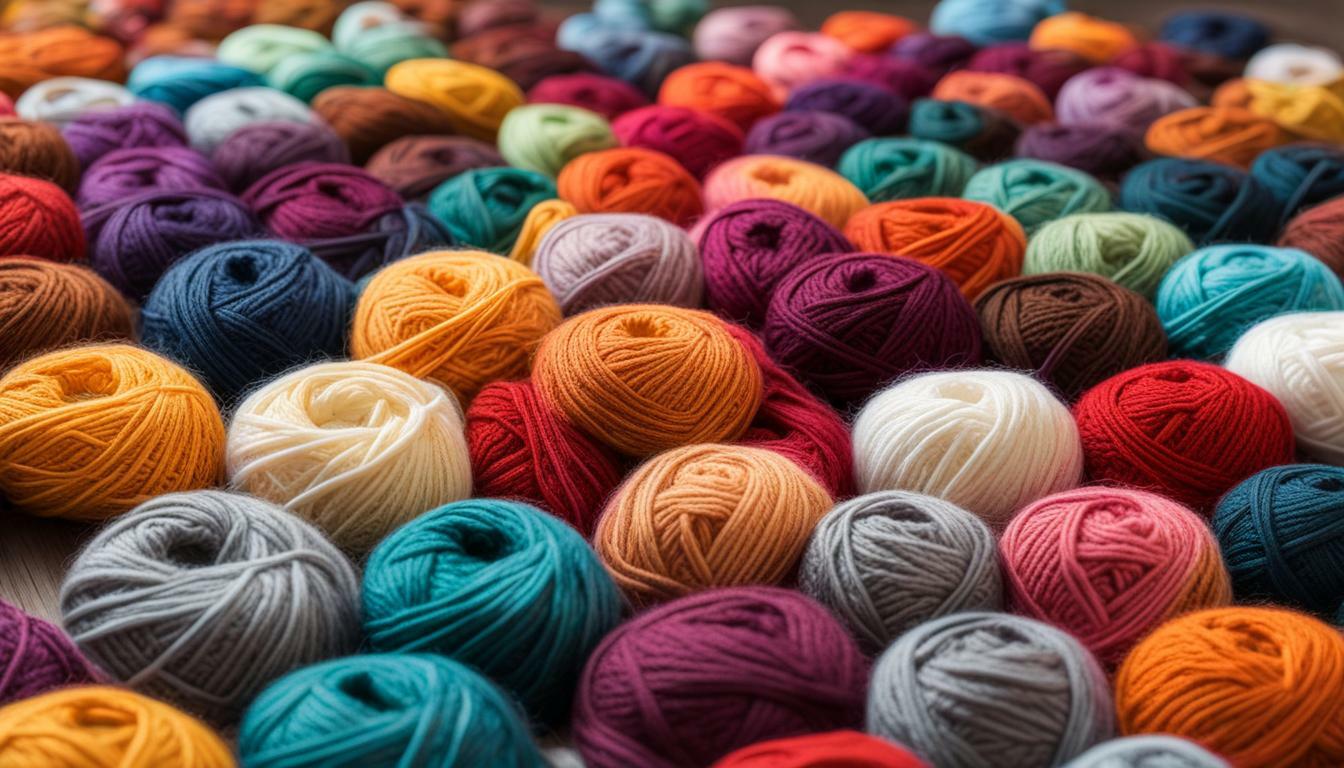
Guide: How to Add More Yarn to Crochet Seamlessly
As crocheters, we’ve all been there: the yarn runs out in the middle of a project, and we need to add more. But how do we add more yarn to crochet without a noticeable seam?
This article will explore the techniques and tips for seamlessly adding more yarn to crochet. From understanding different yarn joins to preparing your yarn for a smooth transition, we’ll cover everything you need to know to achieve flawless yarn transitions in your crochet projects.
Master the finesse of seamlessly integrating additional yarn into your crochet and unlock the secrets to accurately gauging yarn quantities for your rug.
Key Takeaways:
- Adding more yarn to crochet is a common occurrence in projects.
- Seamlessly joining new yarn is essential for a professional-looking finish.
- Several techniques and tips for achieving a smooth yarn transition include the slip stitch join, and the magic knot join.
Understanding Yarn Joins in Crochet
When working on a crochet project that requires multiple colors or adding more yarn, it’s essential to know how to join yarn seamlessly. A poorly executed join can interrupt the flow of your pattern and create unsightly bumps or knots. Here, we’ll go over the types of yarn joins commonly used in crochet, including changing colors and seamlessly joining new yarn.
Joining Yarn: Changing Colors in Crochet
One of the most common reasons for changing yarn in crochet is to switch colors for a new section of a pattern. Work until the row’s last stitch with the current color to do this seamlessly. Then, complete the last stitch, but don’t finish it off by cutting the yarn. Instead, drop the old yarn and pick up the new color, pulling a loop through the last stitch with the new yarn.
Once you’ve made the switch, continue crocheting usually, ensuring that the tails of the old and new yarn are tucked inside your work. This will result in a gradual shift from one color to the other, ensuring a seamless transition.
Seamlessly Joining New Yarn in Crochet
When adding new yarn to a crochet project, you’ll want to ensure a seamless transition with no knots or bumps. One technique to achieve this is the slip-stitch join method, which involves looping the new yarn through the last stitch of the old yarn.
To begin, create a loop with the new yarn and insert it into the last stitch of the old yarn. Next, attach the new yarn by chaining one and pulling it through the loop to form a slip stitch. You can continue crocheting with the new yarn from here, ensuring that the tails of both yarns are weaved in securely to prevent any unraveling.
Another technique is the magic knot join method. This technique involves tying a small knot at the end of the new and old yarn and then pulling the knots tight to create a secure join. This method is best used with thicker yarns and can provide added durability to your project.
Finishing Touches
When you’ve completed your project, it’s essential to finish the yarn properly to ensure they don’t unravel. This involves weaving in the ends of both the new and old yarn, either by using a tapestry needle to thread them back through the stitches or by crocheting over the tails for a few stitches to secure them in place.
By understanding the different types of yarn joins and how to execute them seamlessly, you’ll be well on your way to creating beautiful, uninterrupted crochet projects.
Preparing Yarn for Joining
Adding more yarn to a crochet project requires proper preparation to ensure a seamless join. Before joining the new yarn, weaving in any ends from the previous yarn is essential to prevent unraveling.
You can begin crocheting with the new yarn using the same yarn color. However, if you’re changing colors or using a new yarn type, preparing the yarn for joining is recommended by creating a small knot to secure the two ends together.
One popular technique for joining new yarn is the slip-stitch join method, which involves inserting the hook into the last stitch of the previous row and pulling the new yarn through the stitch and the loop on the hook.
Another option is the magic knot join method, which creates a secure and seamless join by tying the two yarn ends together specially. The Russian join method is also durable and seamless, weaving the two yarn ends together to create a strong bond.
When transitioning to a new ball of yarn, it’s crucial to join the new yarn in a way that blends seamlessly into the project. This can be achieved by tying the new yarn to the old yarn and weaving in the ends.
By following these tips and techniques for proper yarn preparation and joining, you can ensure a smooth and seamless transition in your crochet projects.
The Slip Stitch Join Method
The slip stitch join method is a simple and effective way to seamlessly join new yarn in your crochet projects. This method is convenient when working with single crochet stitches, although it can be applied to others.
To execute the slip stitch join, finish your last stitch with the old yarn, leaving a tail of about 6 inches. Insert your hook into the first stitch of the next row using the new yarn.
Next, yarn over with the new yarn and draw it through both loops on the hook. This will create a slip stitch, effectively joining the new and old yarn.
Continue working with the new yarn, making sure to weave in the ends of the old and new yarn to ensure a secure and seamless join. The slip-stitch join method can also be used when changing colors in your crochet project.
When executed correctly, the slip stitch join method will produce a nearly invisible transition between yarns, creating a professional-looking finished product.
The Magic Knot Join Method
If you’re looking for a secure and seamless way to join yarn in your crochet projects, the magic knot join method may be just what you need. This technique involves tying a knot in the two strands of yarn and then tucking the tails back into the strands to create a smooth, unobtrusive join.
It’s important to note that this technique works best with natural fibers, such as cotton or wool, and may be less effective with synthetic yarns.
To execute the magic knot join method:
- Take the end of your old yarn and the end of your new yarn and tie them together in a basic knot, leaving about 6 inches of tail on each end.
- Hold the two knots between your fingers and gently tug on both sides of the knot to tighten it.
- Cut off the excess tails, leaving about 1/4 inch of yarn on each side of the knot.
- Tuck the tails back into the strands of yarn, threading them through several stitches to hide them and ensure a secure join.
The magic knot join method can be beneficial when changing colors frequently or working on projects requiring multiple skeins of yarn. Remember that it may add some bulk to your work, so it’s best to use it sparingly and only when necessary.
The Russian Join Method
The Russian join method is a great way to achieve seamless yarn joins in crochet. This technique creates a durable join and is perfect for projects undergoing wear and tear.
To execute the Russian join, follow these steps:
- Thread the new yarn through a large needle, about 1-2 inches.
- Insert the needle into the center of the yarn tail of the old piece of yarn.
- Pull the needle through until the loop is about 2 inches long.
- Thread the needle through the center of the tail of the new yarn and pull through until the loop is also about 2 inches long.
- Pull both loops tight and gently tug on the yarn ends to slide the knots towards the center of the join.
- Trim the tails of the yarn.
With the Russian join, you will have a new, secure piece of yarn without any knots. This method is precious for projects that use lighter-weight yarns since it doesn’t introduce any additional bulk to your work.
Tips for Success with the Russian Join Method
When practicing the Russian join, it’s essential to ensure the loops are pulled tight to avoid gaps or looseness. It’s also a good idea to leave a longer tail than usual for both ends of the yarn to ensure the joint is secure and won’t come undone.
Test the strength of the joint by gently pulling on both sides of the yarn. If it holds up and feels secure, you’re good to go!
Adding a New Ball of Yarn
When your current ball of yarn runs out, it’s essential to seamlessly add a new one to avoid any disruptions in your crochet project. Here’s how to do it:
- Start by identifying where you want to add the new yarn. Choosing an inconspicuous spot that won’t be noticeable in the finished project is best.
- Once you’ve located the spot, tie a knot with the old and new yarn together, leaving a tail of each.
- Next, insert your hook into the first stitch and draw up a loop with the old yarn, as usual.
- With the new yarn, draw up a loop and work over the tail ends to secure them. Continue crocheting with the new yarn until the tails are entirely hidden.
- Once you’ve worked a few stitches with the new yarn, you can trim the tails close to the knot for a seamless join.
It’s important to note that this method works well for smooth yarns but may be less effective for textured or bulky yarns. In those cases, consider using one of the join methods mentioned earlier to ensure a seamless transition.
Tips for Smooth Yarn Transitions
Adding more yarn to a crochet project can cause frustration and disruption to the flow of your work. However, with the proper techniques and tips, you can seamlessly incorporate new yarn without any noticeable joins. Here are some tips for achieving smooth yarn transitions in your crochet projects:
1. Manage Your Tension
Consistent tension is essential for seamless joins when adding more yarn to your crochet project. Be mindful of your tension as you work and adjust as needed. Avoid pulling too tightly when joining new yarn, as this can cause puckering in the fabric or uneven stitches.
2. Hide Your Joins
While seamless yarn joins are ideal, sometimes they may still be visible. To minimize the appearance of joins, try working them in inconspicuous places, such as under the arm of a sweater or along the edge of a blanket. Another option is to employ a stitch marker to indicate the join’s position and then weave in the loose ends to achieve a seamless and tidy finish.
3. Choose the Right Join Method
There are many different methods for joining yarn in crochet, each with benefits and drawbacks. Experiment with different techniques to find the best work for your project. Some popular methods include the slip stitch join, magic knot join, and Russian join.
4. Use the Same Yarn
When adding more yarn to your project, use the same yarn as the existing piece. Even slight variations in texture or color can be noticeable in your finished project. Choose a similar weight and texture if you must use a different yarn.
5. Practice, practice, practice!
Adding more yarn to a crochet project can take some practice to master. Don’t be discouraged if your first attempts don’t appear as expected. Keep practicing and experimenting with different techniques until you find the ones that work best for you.
Creative Ways to Incorporate Yarn Transitions
Adding more yarn to a crochet project doesn’t just have to be a functional step. With creativity, yarn transitions can become a project feature, adding depth and visual interest.
Here are a few ideas to inspire your next project:
- Color blocking: Use different colors of yarn to create distinct blocks of color in your project. Join the yarn in a strategic location to enhance the visual impact of the color change.
- Stripes: Similar to color blocking, stripes can add interest to a project. Alternate between two or more colors and join the yarn at the end of each row to create crisp, clean stripes.
- Variegated yarn: Let the yarn work for you using variegated yarn that shifts between colors. You can emphasize specific colors and create a unique effect by choosing a strategic placement for the join.
- Join as you go: For projects that require joining multiple motifs, you can use the join-as-you-go technique to connect them seamlessly. Use a contrasting color for the joining yarn to create a striking effect.
Remember that creativity is all about experimentation, so don’t be afraid to try new things and see what works for your project.
Tip:
When adding more yarn for a creative effect, be sure to plan and consider the placement of the join. A well-placed join can detract from the overall impact of the project.
Troubleshooting Yarn Joins
While adding more yarn to your crochet project can be a seamless process when done correctly, some common issues may arise. Here are some troubleshooting tips to help you overcome any challenges:
Problem: Yarn Joins are Bulky or Obvious
Solution: If your yarn joins are bulky or noticeable, try weaving in your ends more securely. Another approach to achieve a smoother blend of yarn joins into your project is to consider using a smaller hook size. This can help create a more seamless transition.
Problem: Yarn Joins are Coming Loose
Solution: If your yarn joins are loose, add a knot before joining the new yarn. This can provide additional security and prevent the join from unraveling.
Problem: Yarn Joins are Uneven
Solution: If your yarn joins are uneven, make sure you are maintaining consistent tension throughout your project. You can add an extra stitch or two before and after the join to help blend it in more smoothly.
Problem: Yarn Colors are Mismatched
Solution: To ensure your yarn colors match seamlessly, try using yarn from the same dye lot and double-checking your color selections before adding more yarn. You can also adjust the placement of the join to make it less noticeable.
Problem: Yarn Joins are Breaking
Solution: If your yarn joins break, use a robust and secure join method, such as the slip stitch or Russian join. For enhanced durability, you can experiment with applying a small amount of clear glue to the yarn’s end before weaving it in.
You can achieve seamless and beautiful yarn joins in your crochet projects by troubleshooting common issues in advance and using the proper techniques.
Tips for Finishing Yarn Joins in Crochet
Incorporating additional yarn into a crochet project can be a seamless and smooth process when executed precisely. However, finishing yarn properly is essential to ensure your project remains secure and durable. Here are some tips for finishing yarn joins in crochet:
Weave in Ends
Weave in the ends after joining the new yarn to ensure they don’t come loose over time. To seamlessly integrate the yarn ends into your crochet project, employ either a crochet hook or a tapestry needle. Carefully weave the ends into the stitches, ensuring they remain hidden and won’t be visible throughout the completed work.
Test the Security
Before continuing with your project, test the security of the yarn join by gently pulling on both sides of the join. If it feels loose or unstable, reinforce it by weaving in the ends again or adding a knot if necessary.
Choose the Right Join Technique
Within the realm of crochet, there exists a wide array of techniques for joining yarn, and the choice of the proper method can substantially impact both the strength and visual appeal of your project. Experiment with different methods to find the one that works best for you and your project.
Use Colorful Yarn Transitions to Your Advantage
Instead of trying to hide yarn joins, use them to your advantage by incorporating them into the design of your project. Experiment with color changes and creative ways to add texture and dimension to your crochet work.
Don’t Rush
Take your time when finishing yarn joins in crochet. Hastening the process can result in errors and unattractive joins that diminish the overall beauty of your project. Instead, approach each joint with care and attention to detail.
Conclusion
Adding more yarn to crochet projects is an essential skill every crocheter should master. Following the techniques and tips covered in this guide, you can quickly achieve seamless yarn transitions and create beautiful, professional-looking projects.
Remember to prepare your yarn properly before joining, and choose the best technique for your project. The slip stitch join method is excellent for joining yarn within the middle of a row, whereas the magic knot and Russian join methods are well-suited for adding a new ball of yarn to your project.
Remember to troubleshoot any issues during the joining process. Keep your tension consistent, and remember to hide your ends for a polished, seamless look. And for those feeling extra creative, consider incorporating yarn transitions as design elements in your projects.
Finally, remember to properly finish your joins by weaving in ends and ensuring a secure hold. By dedicating time to practice and exercising patience, you can become proficient in creating flawless yarn joins, elevating the quality of your crochet projects to new heights.

Vera Mondragon, a luminary in the yarn industry, weaves together her passion and expertise. With a knack for creativity and a love for all things yarn, Vera guides enthusiasts through the vibrant world of fibers, offering insights and inspiration for every crafting journey.