Mastering Techniques: How to Knot a Quilt with Yarn Explained
Knotting a quilt with yarn is a unique technique used for generations. While it may not be as popular as traditional methods, it offers a practical and creative way to complete a quilt. The skill of knotting a quilt with yarn builds upon the foundation of techniques like knitting the row right after executing a yarn over. If you’re new to this technique, this article will provide a step-by-step guide to help you master yarn knotting.
Key Takeaways:
- Quilt knotting with yarn is a practical and creative way to complete a quilt.
- This article provides a step-by-step guide to mastering the yarn knotting technique.
Understanding Quilt Knotting with Yarn
Quilt knotting with yarn is a popular technique used in quilting. It involves tying knots in the quilt top and backing using yarn instead of traditional methods such as hand quilting, machine quilting, or tying with thread. This technique offers a unique look to quilts and can be a great way to add texture, dimension, and color to your quilting projects.
One of the advantages of yarn knotting is that it is a simple and easy technique that quilters of all skill levels can do. It requires minimal tools and materials and can be done at home without special equipment. It is also a great way to use leftover yarn or experiment with different colors and textures.
Step-by-Step Yarn Knotting for Quilts
To get started with yarn knotting, follow these simple steps:
- Prepare the quilt top and backing by aligning and securing them using basting pins, spray adhesive or fusible interfacing. Ensure that the layers are smooth and taut to prevent puckering or bunching.
- Cut a length of yarn to use for knotting. The length of the yarn will vary based on the size of your quilt and the spacing you want for the knots. A good rule of thumb is to cut a length twice the width of your quilt, plus a few extra inches.
- Tie a knot at one end of the yarn and insert the needle through the quilt layers from the back to the front, leaving a tail of about 2 inches.
- Encircle the yarn around your index finger twice, then loop it over the needle to create a slip knot.
- Pull the needle and yarn through the slip knot, tightening it snugly against the quilt layers.
- Repeat steps 3-5 at regular intervals across the quilt, spacing the knots evenly and ensuring they are all the same size and tension.
- Upon reaching the end of the yarn, secure it with a knot and employ a tapestry needle to weave in the loose ends.
With these simple steps, you can quickly master the yarn knotting technique for quilts. This method is excellent for adding a personal touch to your quilting projects while creating something unique and beautiful.
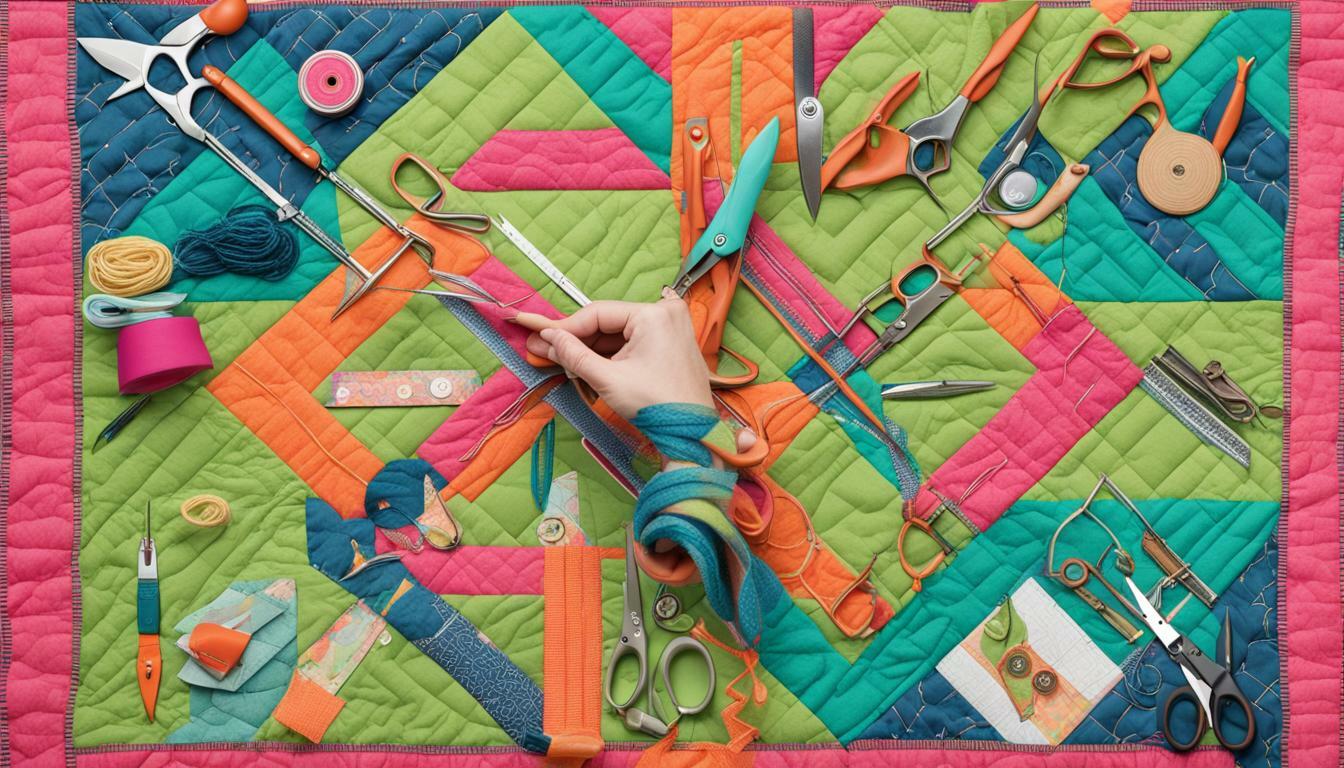
Getting Started: Tools and Materials Needed
If you’re new to quilting and interested in knotting a quilt with yarn, you’ll need a few essential tools and materials to get started. Here’s a beginner’s guide to knotting a quilt with yarn:
| Tools | Materials |
|---|---|
|
|
When selecting yarn for quilting, consider color, weight, and texture. For knotting a quilt with yarn, you’ll need a solid, durable yarn that can withstand washing and use.
A yarn knotting tutorial for quilting may suggest additional materials or tools depending on the technique used.
Preparing the Quilt Top and Backing
Before beginning the knotting process, properly preparing the quilt top and backing is crucial. Doing so guarantees that the final result will possess structural integrity and visual appeal. Here are the steps to follow:
Step 1: Align the Layers
Start by keeping your quilt top right side up and laying it flat. Make sure it’s free of wrinkles, and lay the backing fabric on top, right side down, aligning all the edges with the quilt top. Eliminate any wrinkles or bubbles that might have formed by gently smoothing them out.
Step 2: Basting the Layers
The next step is to baste the layers together using whichever method you prefer. There are numerous ways to achieve this, including hand, machine, and spray basting. Whatever method you choose, make sure the layers are securely held together.
Step 3: Trim the Edges
After basting the layers together, trim any surplus fabric along the edges of the quilt top and backing. This will make the knotting process easier and ensure a clean finish once you’re done.
Follow these steps carefully to create a stable foundation for your yarn knots. With the quilt top and backing adequately prepared, you’re ready to start knotting!
Knotting Techniques: Step-by-Step Guide
Now that you have prepared your quilt top and backing, it’s time to start knotting with yarn! Follow these step-by-step instructions to achieve perfect, even knots:
- Choose your starting point: Begin knotting at one corner and work your way across the quilt, or start in the middle and work outwards. Select the approach that aligns best with your comfort and preference.
- Tie your first knot: Take one strand of yarn and pass it through both layers of fabric near your starting point. Tie a simple knot, leaving a yarn tail about 4 inches long. Repeat this process, tying a knot every 2-3 inches along the row or section.
- Create the second row: Move to the next row or section and tie knots similarly, ensuring the knots align with those in the previous row. Take care to maintain even tension and spacing between knots.
- Continue knotting: Work across the quilt, tying knots row by row. As you approach the edge of the quilt, be sure to leave enough yarn for binding.
- Trim excess yarn: Trim any excess yarn to achieve a neater finish once you have completed the knotting. Be careful not to cut any of the knots or loops.
- Bind the edges: Finally, create a binding for the edges of the quilt using your chosen material, such as bias tape or fabric strips. Securely attach the binding to the quilt edges using your preferred technique, whether machine stitching or hand sewing. Trim any excess binding material for a clean finish.
By committing to consistent practice and determined effort, you can develop proficiency in quilting with yarn knots. Remember to maintain consistent tension, spacing, and knot placement to achieve a professional-looking finish. Experiment with different yarn types, colors, and knot styles to create unique and beautiful designs.
Finishing Touches: Trimming and Binding
Once you have completed knotting your quilt with yarn, it’s time to add the finishing touches. The following steps will guide you through the trimming and binding process.
Trimming
The first step is to trim any excess yarn from the knots to create a clean, polished finish. Use sharp scissors to carefully trim each knot, careful not to cut into the fabric or neighboring knots. Maintaining an even length of yarn throughout the quilt is important to ensure consistency in the finished product.
Binding
Concluding the process, the final step involves binding the edges of your quilt. There are a variety of binding techniques to choose from, but a simple double-fold binding is an excellent choice for beginners. To create a double-fold binding, cut a strip of fabric to your desired width and length, fold it half lengthwise, and press it flat. Next, fold the raw edges of the binding strip inward and press them flat as well. Pin the binding strip to the edges of your quilt, right sides together, taking care to miter the corners. Stitch the binding onto the quilt using an ¼ inch seam allowance, fold it to its back, and firmly secure it through hand sewing.
Congratulations, you have completed your yarn-knotted quilt!
Tips and Tricks for Successful Quilt Knotting
Mastering quilt knotting with yarn can take some practice, but with patience and these helpful tips, you can achieve beautiful results:
- Maintain consistent tension: Keeping an even tension throughout the quilt is crucial for a professional finish. Use a gentle but firm touch when pulling the yarn through the layers, and adjust as needed.
- Prevent fabric bunching: Don’t pull the yarn too tightly as you knot to avoid bunching or puckering the fabric. It can also be helpful to periodically smooth out the quilt top and backing layers before continuing.
- Troubleshoot common issues: If you encounter loose knots or yarn ends, use a hand-sewing needle to tuck them back into the quilt layers carefully. If a knot is too tight, gently use a seam ripper to loosen it without damaging the fabric.
- Experiment with different yarn types: While traditional cotton yarn is ordinary for quilt knotting, don’t be afraid to try other types, such as wool, silk, or even novelty yarns, for a unique look.
Following these tips and taking time will help you achieve beautiful and successful quilt knotting results. Happy quilting!
Exploring Creative Variations
Quilt knotting with yarn provides endless possibilities for creative expression in quilting. Experimenting with different yarn colors, patterns, and knot styles can make your quilt unique. Here are some creative variations to try:
- Variegated Yarn: Use variegated yarn to create a unique, multicolored effect in your knots. This is a great way to add interest to solid-color fabrics.
- Striped Knots: Alternate two or more yarn colors to create stripes in your knots. This is a fun way to add a pop of color to your quilt.
- Decorative Knots: Experiment with styles such as French or double knots to add decorative elements to your quilt. These knots can be used to create a textured effect or to highlight specific parts of your design.
- Random Knot Placement: Instead of knotting in a regular pattern, try randomly across your quilt. This can create a more organic, natural look.
Feel free to get creative and try something new. Yarn knotting is a versatile technique that opens up opportunities to explore a variety of colors, textures, and designs in your projects. Let your imagination run wild, and have fun!
Maintenance and Care of Yarn-Knotted Quilts
After all the hard work of knotting a quilt with yarn, it’s essential to take proper care of the finished product. Here are some tips for maintaining and caring for your yarn-knotted quilt:
Cleaning
To keep your quilt looking its best, it’s essential to clean it regularly. We recommend following the care instructions that came with the quilt’s fabric. Some yarns may be machine washable, while others require hand washing or dry cleaning.
If machine washing is an option, use cool water on a gentle cycle. Please refrain from using fabric softeners or bleach, as they can potentially harm the yarn and lead to fabric fading over time.
After washing, spread the quilt flat to air dry. Avoid hanging or twisting the quilt, as this can cause the yarn to stretch or deform.
Storage
Store your yarn-knotted quilt in a cool, dry place when not in use. Avoid direct sunlight or damp areas, which can cause mildew or discoloration.
If possible, store the quilt flat or loosely folded. Avoid tightly rolling or compressing the quilt, as this can damage the yarn and cause creases that are difficult to remove.
Repairs
Over time, the yarn knots on your quilt may loosen or come undone. To repair loose knots, re-tie them and trim any excess yarn.
If more extensive repairs are needed, such as replacing a damaged section of yarn, carefully use a sharp needle and matching yarn to weave in a replacement strand.
With proper care and maintenance, your yarn-knotted quilt can last many years. Following these tips, you can preserve your handmade creation’s beautiful colors and unique texture.
Conclusion
Now that you have mastered the art of knotting a quilt with yarn, you have unlocked a world of creative possibilities in quilting. This technique offers unique advantages over traditional methods, including greater flexibility in design and enhanced durability.
Remember to start with the right tools and materials, including a sturdy yarn and a well-prepared quilt top and backing. Take your time and follow our step-by-step guide for successful knotting results. Trim any excess yarn and finish with a professional-looking binding to create a beautiful final product.
Feel free to experiment with different yarn patterns and variations. Let your creativity shine through this versatile technique. With our expert tips and techniques, you can address challenges and attain consistent and satisfactory knotting outcomes.
Finally, remember to care for and maintain your yarn-knotted quilt properly. This will ensure its longevity and keep it looking vibrant for years. We hope this article has inspired you to embrace yarn knotting as a valuable tool in your quilting repertoire.

Vera Mondragon, a luminary in the yarn industry, weaves together her passion and expertise. With a knack for creativity and a love for all things yarn, Vera guides enthusiasts through the vibrant world of fibers, offering insights and inspiration for every crafting journey.