Guide on How to Insert Yarn into Needle – Easy Steps
Knitting is a popular pastime enjoyed by people of all ages and skill levels. However, for beginners and even experienced knitters, inserting yarn into a needle can be a challenging task. That’s why we’ve compiled a comprehensive yarn insertion tutorial to quickly guide you through the process. Whether you’re an experienced knitter or a beginner, this needle and yarn guide will furnish you with step-by-step instructions and valuable tips to guarantee the success of your knitting projects. “Knitting essentials at your fingertips: Perfect the art of threading your needle and seamlessly integrate a new ball of yarn into your masterpiece!”
Key Takeaways
- Inserting yarn into a needle is an essential step in knitting.
- Choosing the suitable yarn and needle combination is crucial for the outcome of your project.
- Properly preparing your needle and yarn before insertion is essential for smooth and efficient knitting.
Understanding the Basics of Yarn and Needles
Needlework with yarn is a beloved craft passed down through generations. If you’re new to the hobby, here’s a beginner’s guide to yarn and needles to help you navigate the basics.
Yarn comes in various materials, including wool, cotton, and acrylic. Each type of yarn has unique properties that affect how it behaves in projects. Wool, for example, is warm and elastic, while cotton is light and breathable. Before starting a project, choosing a yarn appropriate for the intended use is essential.
Needles also come in different types and sizes. Knitting needles are typically made of metal, bamboo, or plastic and come in sizes ranging from small to large. The needle size directly influences the size of the stitches, making it crucial to select the appropriate size for the specific yarn you’re using.
Choosing a medium-weight yarn and a pair of comfortable needles is best when starting. As you gain more experience, you can explore various yarn types and needle choices to create diverse effects in your knitting projects.
Preparing Your Needle and Yarn
Before you can begin knitting, preparing your needle and yarn properly is essential. This will ensure a smooth and efficient yarn insertion, allowing you to focus on the knitting. Follow these step-by-step tips for successful yarn insertion:
- Choose the Right Needle and Yarn: Selecting the correct needle and yarn combination is crucial. Refer to the pattern instructions or the recommended size on the yarn label to determine the appropriate needle size. The yarn weight should also match the intended project for optimal results.
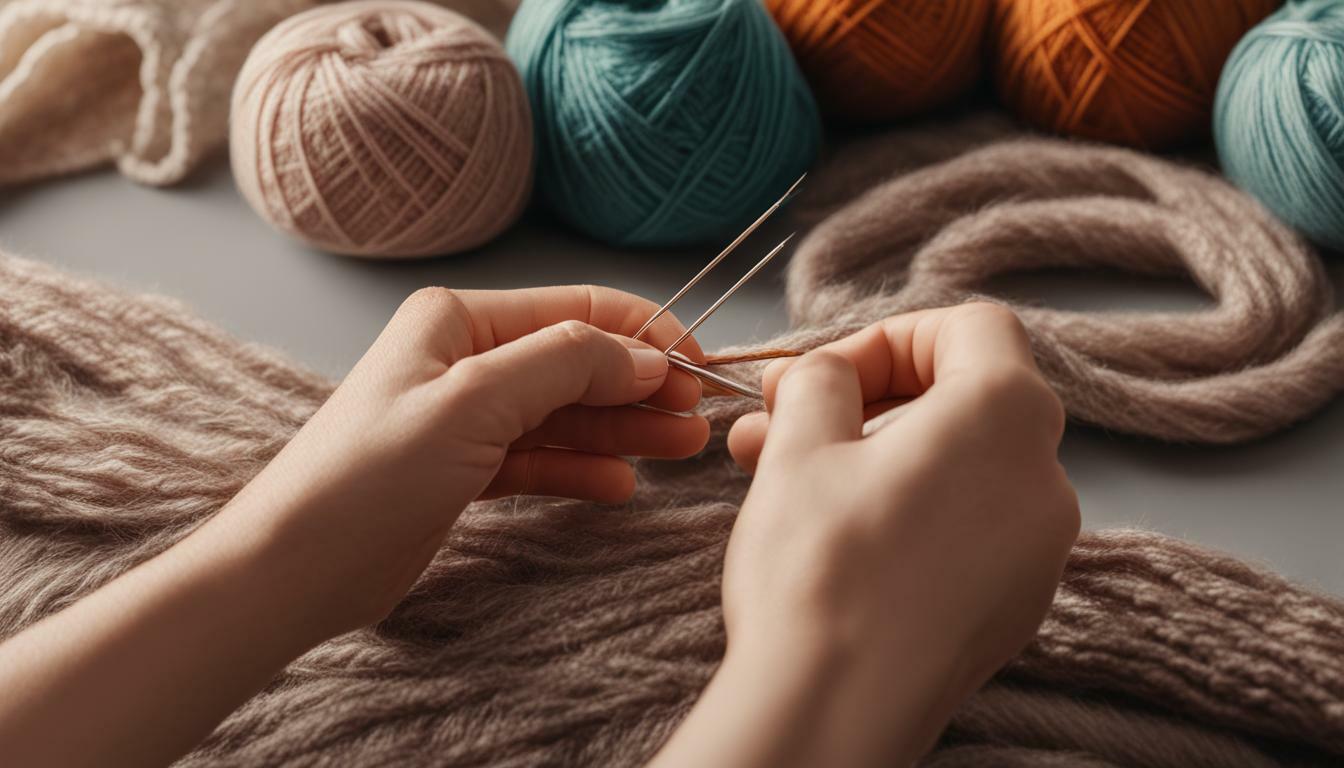
- Hold the Needle: Hold the needle between your thumb and index finger, positioning the point away from your body. The tail of the yarn should be hanging down from the needle.
- Thread the Yarn: Hold the tail of the yarn with your other hand and loop it around your index finger. Use your thumb to push the loop towards the needle, creating a “U” shape. Place the needle into the loop and pull the yarn through, ensuring it is securely anchored onto the needle.
- Start Slowly: Take your time with the first few stitches to ensure the yarn is correctly inserted into the needle. You can increase your speed and efficiency once you get the hang of it.
Tip: If you’re having trouble threading the yarn, try moistening the end with saliva or using a needle threader tool for assistance.
Follow these yarn threading tips to prepare for successful insertion and an enjoyable knitting experience.
Inserting Yarn into the Eye of the Needle
Threading the yarn through the needle’s eye can be difficult, particularly for beginner knitting. However, with some practice and patience, you can quickly master this technique and perfect your yarn needle insertion skills. Below are some step-by-step instructions to guide you through the process:
- Thread the yarn: Before starting, thread the yarn through the needle. Hold the needle in your dominant hand and the yarn in your other hand. Place the end of the yarn over your index finger and wrap it around it once. Then, bring the end of the yarn under your finger, creating a loop. Guide the needle through the loop and draw the yarn toward the needle’s eye, leaving a small tail.
- Straighten the yarn: Pull it gently to straighten it out once the yarn is through the needle. Ensure it is not twisted or tangled, which can cause problems while knitting.
- Insert the yarn into the eye: Hold the needle with the eye facing up and the tail of the yarn to the left. Use your other hand to grasp the yarn and guide it towards the eye of the needle. Insert the yarn into the eye from the right side, pushing it gently until it comes out the other side.
- Check the tension: After the yarn is in the eye, gently pull it. The tension should be tight enough to hold the yarn securely but not so tight that it is difficult to move the needle. Adjust the tension as necessary before starting to knit.
Remember, perfecting your yarn insertion technique takes time and practice. Experiment with different methods and find what works best for you. With these easy yarn insertion tips and techniques, you can knit quickly and confidently.
Ensuring Proper Tension
Proper tension is crucial for achieving even and well-formed stitches in knitting projects. When inserting the yarn into the needle, it’s essential to maintain consistent tension to prevent stitches from becoming too loose or too tight.
One way to achieve proper tension is to hold the yarn between your non-dominant hand’s index and middle fingers, using your thumb to adjust and maintain tension. This allows you to maintain a steady tension as you insert the yarn into the needle with your dominant hand.
Another technique is to use a yarn guide, which can be purchased or improvised with household items. A yarn guide holds the yarn in place and controls tension, allowing for more precise and consistent stitching.
Practicing and experimenting with different tension techniques is essential to find what works best. Consistent tension will lead to more professional-looking knitting projects and an overall more enjoyable experience.
Troubleshooting Common Issues
Despite your best efforts, you might encounter typical challenges when threading yarn through a needle. Here are some troubleshooting tips to help you overcome these obstacles.
Yarn Snagging
If your yarn keeps snagging while inserting it into the needle, try gently untangling it first. If that doesn’t help, try using a needle threader. Thread the threader through the needle’s eye, then pass the yarn through the threader and draw it back through the eye of the needle.
Yarn Slipping Out
If your yarn keeps slipping out of the needle, it might be too loose. Pull the yarn tight after inserting it into the needle to prevent slipping. If that doesn’t help, try using a needle with a slightly smaller or larger eye to hold the yarn better.
By applying these troubleshooting techniques, you can overcome common problems that may arise while inserting yarn into a needle and continue knitting with ease.
Practical Tips for Efficient Yarn Insertion
Inserting yarn into a needle can be time-consuming and frustrating, especially for beginners. Nevertheless, with the correct techniques and tools, you can transform it into a seamless and efficient endeavor. Here are some practical tips to help you improve your yarn threading:
Use a Needle Threader
If you struggle with threading yarn through the eye of the needle, consider using a needle threader. This convenient tool can be a time and frustration-saver, mainly when dealing with delicate or fuzzy yarns. Just insert the wire loop through the needle’s eye, thread the yarn through it, and pull it back through the needle.
Organize Your Yarn
Before you start knitting, take some time to organize your yarn. This technique will aid in preventing tangles and simplifying the process of threading the yarn through the needle. You can wind your yarn into neat balls or use a yarn bowl to keep it in place while you work. When starting a new ball of yarn, find the end and pull it out slowly to avoid tangling.
Hold Your Needle Properly
How you hold your needle can affect your yarn insertion. Hold the needle between your thumb and middle finger while using your index finger to guide the yarn into the eye of the needle. For added control, you can rest the tip of the needle on a surface while threading the yarn.
Practice Good Technique
Practice makes perfect when it comes to yarn insertion. Be patient and develop a steady rhythm, threading the yarn through the needle with a smooth and even motion. Be cautious not to force the yarn excessively, as it can break or become tangled. Instead, use gentle pressure to guide the yarn into the eye of the needle.
Following these yarn threading tips can improve your efficiency and speed while knitting. Whether you are a beginner or an experienced knitter, these techniques can help you streamline your yarn insertion process and focus on creating beautiful, high-quality projects.
Exploring Different Yarn Insertion Techniques
While the primary method of inserting yarn through the eye of the needle is the most commonly used technique for knitting, alternative methods can be helpful in certain situations. Below, we will explore different yarn insertion techniques to help you improve your knitting skills and create unique textures and patterns in your projects.
Loop Yarn Insertion
Loop yarn insertion is a technique that involves creating a loop of yarn that is then placed onto the needle. This method is beneficial for thicker yarns or creating a decorative edge on your project. Here are the steps to follow for loop yarn insertion:
- Take the end of the yarn and create a large loop to fit over the end of the needle.
- Guide the needle through the yarn loop and draw the loop down onto the needle.
- Pull the yarn through the loop that’s on the needle to create a stitch.
Needle Felting
Needle felting is a method that entails employing a specialized needle with barbs to fuse fibers together. It’s precious for crafting intricate designs or introducing texture to your project. Here are the steps to follow for needle felting:
- Place a small amount of roving (unspun wool) on your project.
- Hold the needle perpendicular to the roving and begin poking it through it and into your project.
- The barbs on the needle will grab the fibers of the roving and pull them down into your project, effectively felting the fibers together.
It is important to note that while needle felting is a valuable technique, it can also be time-consuming and requires a steady hand. Practice on a small project before using needle felting on a larger project.
Enhancing Your Knitting Experience
Aside from mastering yarn insertion, there are other tips and tricks to enhance your knitting experience. By integrating these practices into your knitting routine, you can enhance the enjoyment and productivity of your knitting sessions.
- Choose Ergonomic Needles: For avid knitters, ergonomic needles can substantially enhance comfort and decrease the likelihood of hand fatigue or injury. These needles are designed with ergonomics in mind, featuring soft grips and smooth edges to make knitting a more comfortable experience.
- Use Yarn Holders or Guides: Yarn holders or guides can help prevent tangling and snagging, allowing you to knit faster and more efficiently. These accessories can be purchased or made at home with clothespins or binder clips.
- Practice Mindfulness: Knitting is a great way to reduce stress and promote relaxation, but it’s essential to approach it mindfully. Take deep breaths and focus on each stitch, allowing yourself to fully engage in the process and let go of distractions and worries.
By incorporating these tips into your knitting routine, you can maximize your knitting experience and achieve even better project results.
Cleaning and Maintaining Your Needles
To guarantee your needles’ best performance, cleaning and maintaining them regularly is crucial. Keeping your needles in good condition can prolong their lifespan and prevent issues such as snagging or splitting yarn.
Cleaning Your Needles
The cleaning technique you employ will vary depending on the type of needle you possess. Wipe them down with a damp cloth or cotton pad for metal and plastic needles. For cleaning wooden needles, gently brush away debris with a soft-bristled brush, then wipe with a damp cloth and let air dry.
When faced with exceptionally soiled or sticky needles, you can clean them using a gentle soap solution. Ensure you rinse off all soap residue and let them thoroughly dry before using them again.
Storing Your Needles
Store your needles in a container specifically designed for knitting supplies when not in use. This precaution will shield your needles from dust and debris and prevent them from getting damaged by contact with other objects.
It is also essential to keep your needles organized within the container. You can use a needle gauge to sort them by size or label them with adhesive dots or markers to identify each needle quickly.
Tips for Maintaining Your Needles
- Never leave your needles in direct sunlight or extreme heat
- Steer clear of using abrasive cleaners or solvents on your needles.
- Periodically check your needles for signs of wear or damage, such as splintering or bent tips.
By following these recommendations and regularly cleaning and maintaining your needles, you can ensure they remain in excellent condition for many future knitting projects.
Conclusion
Mastering the art of yarn insertion into a needle is crucial for any knitting project. We trust this guide has offered valuable tips and methods suitable for novices and seasoned knitters. Remember to choose the right needle and yarn combination, properly prepare your needle and yarn, and maintain consistent tension throughout the process.
If you encounter any issues, keep going. Check out our troubleshooting section for solutions and tips. Feel free to experiment with different insertion techniques, such as loop yarn insertion and needle felting, to find what works best for you.
Finally, remember to take care of your needles. Cleaning and maintaining them properly will help prolong their lifespan and ensure optimal performance.
Happy knitting!

Vera Mondragon, a luminary in the yarn industry, weaves together her passion and expertise. With a knack for creativity and a love for all things yarn, Vera guides enthusiasts through the vibrant world of fibers, offering insights and inspiration for every crafting journey.