Master Guide: How to Connect Yarn in Crochet Easily
If you’re a crochet enthusiast, you know that connecting yarn is essential to any project. Whether you’re working on a blanket, scarf, or sweater, seamless yarn joins are crucial for achieving a polished, professional finish. But with so many methods for connecting yarn in crochet, it can be overwhelming to figure out which one to use for your project. Using the tips from “How Much Yarn for a Blanket” and the information in “How to Connect Yarn in Crochet Easily,” you’ll be well-prepared to handle yarn connections smoothly and accurately plan your blanket projects.
In this article, we’ll provide a comprehensive guide to connecting yarn in crochet, exploring different techniques, tools, and materials to help you achieve seamless joins every time.
Key Takeaways:
- Learning to connect yarn in crochet is crucial for achieving professional project results.
- Several methods for connecting yarn in crochet include the slip knot, magic knot, and Russian join.
- Selecting suitable yarn and using the proper tools can make a big difference in the success of your yarn connections.
Why is Connecting Yarn Important in Crochet?
When it comes to crochet projects, achieving seamless yarn connections is essential for a polished, professional-looking finish. The last thing you want is to have visible knots or uneven joins that detract from the overall appearance of your project. Not only do seamless yarn connections contribute to a more aesthetically pleasing outcome, but they also enhance the durability of your crochet item by ensuring it stays together securely.
Smooth yarn joins in crochet can be particularly important for specific projects, such as garments or accessories, where the yarn joins may be more noticeable. By mastering the art of seamless yarn connections, you can elevate your crochet skills to the next level and create truly stunning pieces.
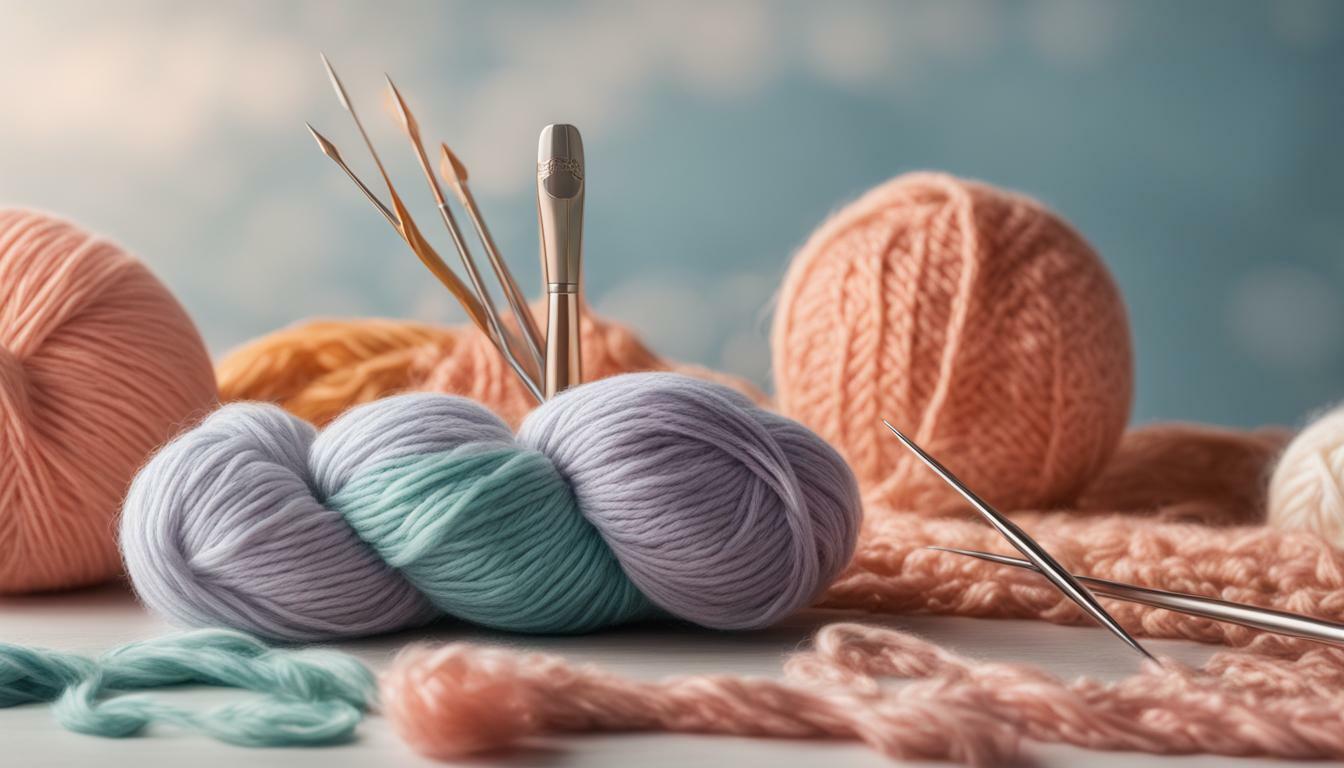
Tools and Materials for Connecting Yarn in Crochet
Connecting yarn in crochet projects is an essential skill to learn. It enables you to create smooth transitions between colors or add more yarn to your project. To get started, you’ll need the following tools and materials:
| Tools | Materials |
|---|---|
| Scissors | Yarn |
| Tapestry needle | Crochet hook |
| Stitch markers (optional) |
If you’re starting, practicing joining yarn in crochet with a scrap piece of yarn and a hook to build your confidence is a good idea. Here are some expert tips to make your yarn connections seamless:
- Before joining a new yarn, stretch the existing loop so that it’s larger and easier to work with.
- When adding a new yarn, twist it with the old yarn to minimize the gap between them.
- Use a tapestry needle to neatly weave in the loose ends of the old and new yarn, achieving a refined and polished appearance.
- Practice makes perfect, so feel free to experiment with different joining methods until you find the one that works best for you.
The Slip Knot Method
The slip knot method is one of the most common and straightforward methods for connecting yarn in crochet. This method proves particularly handy when dealing with switching yarn colors.
Follow these step-by-step instructions for a seamless yarn connection:
- Begin by tying a slip knot with your new yarn. To do this, create a loop with the yarn and tuck the tail end under the loop. With your hook, pull the working end of the yarn through the loop, creating a slip knot.
- Insert your hook into the last stitch of your previous row or round.
- Take the working part of the new yarn, encircle it around the hook, and then pull it through the stitch.
- Once more, wrap the new yarn around the hook and draw it through the loop on the hook, finalizing a single crochet stitch using the new yarn.
- Your old yarn can now be cut or secured by weaving in the ends.
- Continue crocheting with your new yarn.
To ensure a smooth and seamless yarn join, paying attention to the tension of your stitches is essential. Make sure your tension matches the rest of your project, and adjust as necessary. Additionally, when working on a project requiring multiple color changes, alternating between the slip and magic knot methods can help prevent bulkiness and ensure a polished finish.
Tips: Try creating a double knot for a more secure slip knot instead of a single knot. When weaving in your ends, do so securely to prevent unraveling.
The Magic Knot Method
The magic knot method is popular for joining yarn in crochet, especially when working with slippery or difficult-to-manage yarns. It is a simple and easy way to create a secure and nearly invisible connection between two strands of yarn.
Best Practices for Yarn Connections in Crochet
Before we dive into the step-by-step instructions for the magic knot method, let’s review some best practices for connecting yarn in crochet:
- Always use the same weight and fiber type of yarn when joining new yarn to a project to ensure consistency in texture and tension.
- Leave at least a 6-inch tail of old and new yarn to weave in later for a neater finish.
- Try to join yarn in an inconspicuous location, such as at the beginning or end of a row.
- Practice each joining method on a swatch before using it on a larger project.
Step-by-Step Guide to the Magic Knot Method
Follow these simple steps to use the magic knot method to join two strands of yarn together:
- Overlap the ends of the two strands of yarn you wish to join by several inches.
- Take the end of the new yarn and tie a loose overhand knot around the old yarn, leaving at least a 2-inch tail on both ends.
- Take the old yarn and tie a loose overhand knot around the new one, making sure to tie the knot in the opposite direction of the first one.
- Gently pull both knots tight, not distorting the adjacent stitches.
- Carefully trim the excess yarn tails, leaving approximately a 1/4-inch tail on each end.
The resulting knot should be secure and virtually undetectable when worked into your project. Before continuing your crochet work, please give it a tug to test its strength.
The Russian Join Method
Another popular technique for joining yarn in crochet is the Russian join method. This method involves weaving in the ends of the yarn to create a seamless connection.
To execute the Russian join method:
- Cut the yarn, leaving a long tail.
- Fold the tail back on itself, forming a loop.
- Thread the new yarn tail through the loop.
- Thread the new yarn tail through the top of the folded yarn tail.
- Thread the folded yarn tail through the loop of the new yarn tail.
- Pull both tails to secure the connection.
The Russian join method creates a robust, secure connection that blends seamlessly into the fabric. Nonetheless, this approach might take a little more time than other methods, and there might be better options for yarns prone to falling apart or splitting.
As with any yarn connection technique, practice and experimentation are crucial to finding the best method for you and your project.
The Slip Knot Method
The slip knot method is a popular technique for connecting yarn in crochet. It creates a secure and robust join that is nearly invisible. It is ideal for joining yarn in the middle of a row or starting a new one.
To execute the slip knot method, follow these simple steps:
- Create a slip knot using the new yarn, leaving a long tail.
- Place the crochet hook into the initial stitch of the row where you intend to connect the new yarn.
- Hold the tail of the new yarn against the hook with your non-hook hand.
- Yarn over with the new yarn, then pull the loop through the stitch.
- Continue crocheting with the new yarn, leaving the tail loose.
To ensure a seamless join, use a yarn needle to weave in the loose tail when finished with the project.
Practice the slip knot method on a small crocheted fabric before using it on a larger project. With some practice, you can easily connect yarn and create beautiful crochet projects with smooth, invisible joins.
Tips for Choosing Yarn for Seamless Connections
Choosing the suitable yarn is crucial for achieving seamless connections in your crochet projects. Here are some expert tips to help you make the best selection:
Consider the Fiber Type
Some types of yarn, such as cotton or silk, tend to be more slippery, making it more challenging to create secure connections. Wool and acrylic, on the other hand, are more “sticky” and are generally easier to work with when joining yarn. Consider the fiber type of your yarn and how it will affect the ease of joining.
Match the Weight
When joining yarn, choosing a new skein with the same weight as your current one is important. This ensures the yarn change won’t affect your project’s overall weight and texture. Check the label of your yarn for weight information and choose a new skein that matches.
Color Matching
When joining yarn in your crochet project, you want the transition to be seamless. Choosing a new skein that matches the color of your current yarn can help achieve this. If you cannot find an exact match, try selecting a yarn with a similar hue or variegated colors that complement your current yarn.
Remembering these pointers will help you select the most suitable yarn for your crochet project and achieve smooth and successful connections. Happy crocheting!
Troubleshooting Common Yarn Connection Issues
Smooth yarn joins in crochet can be a challenge, and sometimes, issues may arise even with the best practices for yarn connections in crochet. Here are some common problems and troubleshooting tips:
| Issue | Troubleshooting Tip |
|---|---|
| Yarn ends coming loose | Make sure to tie and weave in the ends securely. You can also use fabric glue or clear nail polish to reinforce the ends. |
| The yarn is not blending well. | When choosing yarn, consider color matching and using the same fiber type and weight. You can also try using a technique like the Russian join to create seamless blends. |
| Bumps or knots in the join | Be sure to pull the yarn ends tight and weave in the ends as seamlessly as possible. Pull the yarn ends gradually and evenly with the magic knot method to prevent bumps. |
| Weaving in the ends is visible. | Try weaving in the ends in a different direction or using a different technique, such as the duplicate stitch. You can also try using a yarn needle with a smaller eye to weave in the ends more discreetly. |
Remember that practicing is the key to becoming skilled at joining yarn in crochet. Don’t be discouraged if you encounter issues – keep experimenting and refining your techniques until you achieve the desired results.
Finishing Touches and Final Thoughts
Once you’ve mastered the art of connecting yarn in crochet, there are a few finishing touches you can apply to your projects to take them to the next level.
- Consider adding a border to your project to frame it and give it a polished look.
- Experiment with different yarn textures and colors to add interest and dimension to your work.
- Remember to weave in all your ends securely to prevent any unraveling.
- Practice, practice, practice! The more you experiment with different yarn connection methods, the more confident you will achieve seamless joins.
Conclusion
Connecting yarn in crochet is essential for achieving professional-looking results in your projects. Whether your preference lies with the slip knot approach, the magic knot method, or the Russian join technique, various methods are available to attain seamless joins and produce exquisite, refined creations. By selecting the right tools and materials, practicing your techniques, and experimenting with different yarn types and colors, you can take your crochet skills to the next level and produce stunning, handmade masterpieces.

Vera Mondragon, a luminary in the yarn industry, weaves together her passion and expertise. With a knack for creativity and a love for all things yarn, Vera guides enthusiasts through the vibrant world of fibers, offering insights and inspiration for every crafting journey.