DIY Guide: How to Make a Blanket Out of Yarn – Step by Step
Are you seeking a cozy and personal touch to add to your home decor? Creating a yarn blanket is an ideal do-it-yourself project for beginners and experienced crafters. Not only is it a great way to showcase your creativity, but it also provides warmth and comfort on chilly nights. In this DIY blanket tutorial, we will guide you through the step-by-step process of making your yarn blanket. Once you’ve learned how to yarn over in knitting, you can apply this technique to create beautiful patterns and designs when making a blanket out of yarn.
Key Takeaways:
- Making a blanket out of yarn is a fun and rewarding project for any level of crafter.
- Creating your blanket adds a personal touch to your home decor.
- Our step-by-step process will guide you through selecting the suitable yarn, pattern, and supplies needed to complete your project quickly.
Choosing the Right Yarn for Your Blanket
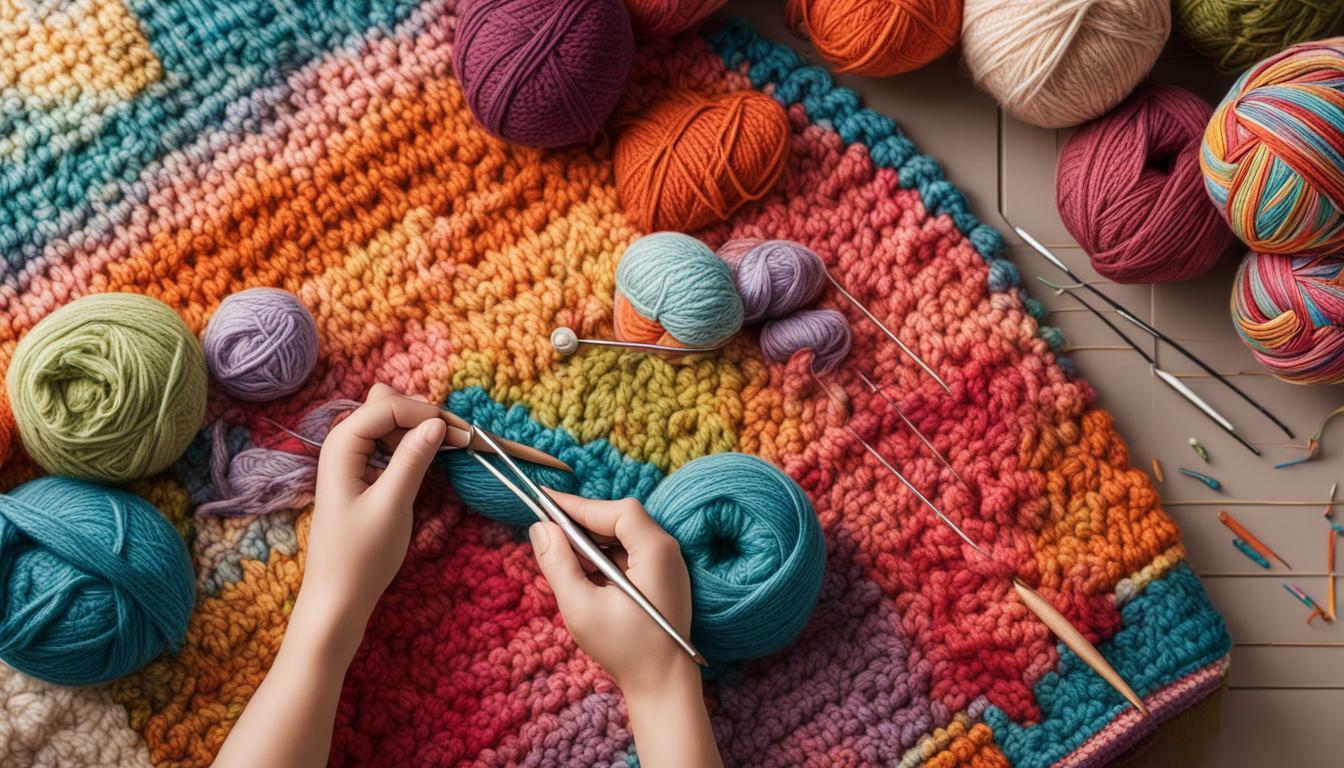
Choosing the suitable yarn is crucial for the success of your blanket project. Chunky yarn is famous for blankets because it creates a cozy, warm texture perfect for snuggling. Consider the material, weight, and color of your blanket’s yarn.
Material: Yarn can be made from various materials such as wool, acrylic, or cotton. Wool is ideal for cold climates, while acrylic is more affordable and easier to care for. Cotton is perfect for lightweight, breathable blankets.
Weight: Yarn comes in different weights, such as bulky or worsted. Bulky yarn is thicker and works faster, while worsted is lighter and more versatile. Choose a weight that suits your preferred texture and crafting speed.
Color: Yarn comes in vast colors, making finding a shade to match your decor easy. Consider the color scheme of your room and whether you want a bold or subtle look when choosing yarn for your blanket.
Once you’ve chosen your yarn, check the label for recommended needle size and washing instructions. If you need help deciding which yarn to choose, consider visiting a yarn store for advice from knowledgeable staff or other crafters.
If you’re feeling adventurous, consider using multiple colors or types of yarn to create unique textures or patterns. With the suitable yarn, your handmade blanket will be a cozy addition to your home that you’ll be proud to show off.
Selecting a Knitting or Crochet Pattern
Choosing the correct pattern for your blanket is crucial, whether you are a beginner or an experienced knitter or crocheter. A pattern will provide you with a guide for the design and shape of your blanket, as well as the stitch pattern and color choices.
If you are new to knitting or crocheting, starting with a simple pattern is recommended. A basic stitch pattern, such as a garter or stockinette stitch, is an excellent choice for a beginner. You can find many free blanket knitting patterns online, and countless crochet blanket patterns are available.
For those looking for a more challenging project, intricate stitch patterns and complex designs are available. Cable knit blankets, lace crochet patterns, and colorwork designs are just a few examples of more advanced patterns.
When choosing a pattern, consider the skill level required, the blanket size, and the materials needed. Read the pattern thoroughly before beginning your project to understand the instructions and any special techniques required.
Overall, the pattern you choose will ultimately determine the final appearance of your blanket. So take the time to find a pattern that you love and that suits your skill level and desired outcome.
Gathering the Necessary Supplies
You will need a few essential supplies to make a cozy, handmade blanket out of yarn. Here is a list of everything you will need to get started:
| Supplies | Description |
|---|---|
| Yarn | Choose the color and weight of your preference for your blanket. |
| Knitting needles or Crochet hook | Select a size that matches the recommended gauge on your yarn label. |
| Scissors | You will need scissors to cut your yarn at various project points. |
| Tape measure | You must measure your blanket as you go to ensure it is the desired size. |
Once you have all your supplies, you are ready to begin your blanket project. Most of these materials can be found at your local craft store or online retailer.
With these handmade blanket instructions and easy homemade blanket tips, you can create your cozy masterpiece with a personal touch.
Casting On and Getting Started
Once you have your yarn and supplies ready, it’s time to start your blanket project. The first step is casting on, creating the first row of stitches.
If you’re new to knitting, there are a few basic techniques you’ll need to learn before getting started. The knit stitch and purl stitch are the foundation of most knitting patterns.
To cast on, make a slipknot with your yarn and place it on your needle. Afterward, place your needle into the knot, encircle the yarn around the needle, and gently pull the loop through the knot. Repeat this process until you have the desired number of stitches on your needle.
It’s essential to ensure your stitches are tight enough and tight enough. If they’re too tight, it will be challenging to work with the yarn and could cause your blanket to warp. If they’re too loose, your blanket could have holes or gaps.
Once cast on, you can begin the first row of stitches. If you’re following a pattern, read it carefully and follow the instructions for the first row. If you’re starting, a simple knit stitch pattern is a great way to get comfortable with the technique.
Remember to take your time and be patient as you work through casting on and starting your blanket. With practice and determination, you’ll have a beautiful handmade blanket in no time.
Continuing the Pattern and Creating Rows
Once you have completed the first row of stitches, it’s time to continue the pattern and create rows for your blanket. The process is similar whether you’re following a crochet blanket pattern or a blanket knitting pattern.
First, refer to your chosen pattern to determine the appropriate number of stitches per row. Count your stitches after completing each row to ensure accuracy and consistency.
If your pattern requires a color change, tie the new color yarn to the last stitch of the previous row and continue with the new color.
As you continue creating rows, maintain consistent tension and avoid too tight or loose stitches. This will help ensure a uniform look for your handmade blanket.
Tips for Changing Yarn Color
Changing the color of your yarn can add beautiful detail to your blanket. Here’s how to do it:
- When you’re ready to change colors, knit or crochet until you reach the last stitch of the old color.
- Take the new yarn and tie a loose knot around the old yarn, leaving a long tail you can weave in later.
- Begin using the new color yarn to complete your row, making sure to weave in the loose ends as you go.
- When you’re ready to change to the original color, reverse the process.
Adhering to these suggestions can accomplish seamless and appealing color changes in your crochet or knit blanket.
Adding Length and Width to Your Blanket
Now that you have started your blanket, it’s time to add length and width. You must increase the number of stitches in each row to make your blanket more prominent. Likewise, to make your blanket smaller, you must decrease the number of stitches in each row.
You can use yarn over (YO) to increase stitches. This involves wrapping the yarn around your needle before making the next stitch. This creates an extra stitch and increases the overall width of your blanket. To decrease stitches, you can use a technique called knitting two together (K2Tog). This involves knitting two stitches together as if they were one, effectively decreasing the overall width of your blanket.
Maintaining an even number of stitches throughout your blanket is essential to ensure it stays flat. You can count your stitches at the end of each row to ensure you are on track.
When adding length to your blanket, keep knitting or crocheting until you reach the desired length. Measuring your blanket to ensure it is the size you want is a good idea.
If you want to add a border to your blanket, you can pick up stitches along the edges and knit or crochet a few rows in a contrasting color. This will give your blanket a finished look.
Remember to take your time and enjoy the process. Handmade blankets make great gifts and are perfect for snuggling up on the couch on a cold day.
Finishing Touches and Binding Off
Now that you have completed all the rows of your blanket, it’s time to finish it off with the binding process. This will help secure your stitches and give your blanket a polished look. Here’s how you can do it:
- Knit or crochet two stitches.
- Gently place your left needle into the initial stitch you created.
- Lift the first stitch over the second stitch and off the right needle.
- Knit or crochet one stitch.
- Insert your left needle into the stitch you just made.
- Lift that stitch over the stitch left on the right and off the needle.
- Repeat steps 4-6 until one stitch remains on your right needle.
- Cut the yarn, leaving a long tail.
- Pass the tail through the loop and give it a gentle tug to fasten it securely.
Your blanket is now complete! Take some time to admire your beautiful creation. Before you wrap yourself up in its cozy warmth, it’s important to weave in any loose ends to prevent unraveling.
If you plan to gift or sell your blanket, add a personal touch by attaching a tag with care instructions. This will ensure your recipient can enjoy their new blanket for years!
With these finishing touches, your blanket will provide comfort and warmth to you, your loved ones, or customers if you are crafting the blanket to sell. Crafting a blanket out of yarn is a great yarn craft for blankets. It allows you to express your creativity and make something truly unique. Congratulations on completing your very own handmade blanket!
Washing and Caring for Your Yarn Blanket
Once you have finished your easy homemade blanket, properly caring for it is necessary to ensure longevity. Here are some tips for washing and caring for your yarn crafts for blankets:
- Read the instructions: Always check the care instructions on the yarn label before washing your blanket. Different yarns may require different washing methods.
- Hand wash or machine wash with care: Typically, yarn blankets can be washed by hand or machine using cold water and mild detergent. However, be sure to check the care instructions first.
- Dry carefully: To prevent stretching or misshaping, lay your blanket flat to dry. Avoid hanging it or using a dryer.
- Avoid excessive heat: High heat can damage some types of yarn. Avoid ironing, bleaching, or exposing your blanket to direct sunlight for extended periods.
- Store properly: Whenever you’re not using it, fold your blanket neatly and store it in an excellent, dry location, away from direct sunlight and moisture.
By adhering to these simple care instructions, you can keep your yarn crafts for blankets looking beautiful and cozy for years.
Conclusion
Making a blanket out of yarn is a fun and rewarding DIY project. Not only does it provide an opportunity to unleash your creativity, but it also results in a cozy, unique comfort. With our comprehensive step-by-step guide, you can craft a handmade blanket that will endure for many years ahead.
Remember, choosing a suitable yarn is crucial to achieving the desired outcome. Whether you opt for chunky yarn or a lighter-weight option, take the time to select the best materials for your project.

Vera Mondragon, a luminary in the yarn industry, weaves together her passion and expertise. With a knack for creativity and a love for all things yarn, Vera guides enthusiasts through the vibrant world of fibers, offering insights and inspiration for every crafting journey.