Step-by-Step Guide: How to Dye Yarn at Home Effectively
Are you interested in customizing your yarn for your next knitting or crochet project? Dyeing yarn at home is a fun and creative way to create unique and vibrant colors. It may seem unsafe initially, but you can achieve beautiful results with the proper techniques and materials. Building upon the vibrant art of dyeing yarn effectively at home, we’ll now dive into a delightful hands-on project – creating charming yarn pom poms.
This article is designed to give you a comprehensive guide on how to dye yarn at home effectively, covering different techniques, materials, and tips to make the process easier and more enjoyable. Whether you’re a beginner or an experienced yarn enthusiast, there’s always something new to learn and experiment with when it comes to DIY dyeing.
Key Takeaways:
- Learn how to dye yarn at home with this step-by-step guide.
- Discover different dyeing techniques, materials, and tips for better results.
- Customize your yarn colors and add a personal touch to your knitting or crochet projects.
Understanding Different Yarn Dyeing Techniques
Different techniques can achieve various colors and effects when dyeing yarn. Whether you want to use natural materials or experiment with hand-dyeing techniques, there is a technique that will suit your needs.
Natural Yarn Dyeing
Natural yarn dyeing involves using natural materials, such as plants, fruits, and vegetables, to create dyes. These dyes are often more muted than synthetic but are unique and earthy. You can experiment with different materials like onion skins, tea leaves, or avocado pits to create a variety of colors on your yarn.
Hand-dyed Yarn
Hand-dyed yarn involves applying colors onto the yarn by hand, creating a unique and varied effect. This approach can be executed through various techniques, including dip-dyeing, tie-dyeing, or even hand-painting. Hand-dyed yarns are often prized for their unique qualities and can add interest and texture to your knitting or crochet projects.
Dyeing Wool Yarn
When dyeing wool yarn, it’s essential to consider the unique qualities of wool fibers. Wool has an affinity for acid and heat, so using dyes formulated explicitly for wool is essential. You can use different techniques, such as immersion dyeing, where the yarn is entirely submerged in the dye bath, or kettle dyeing, where the yarn is simmered in a pot of dye.
Gathering Materials and Preparing Your Workspace
Before starting the yarn dyeing process, gather all the necessary materials. This includes dyes, pots, protective gear, and, of course, yarn. You can purchase dyeing kits or source individual materials from craft stores or online retailers.
When setting up your workspace, selecting a well-ventilated area that’s also easy to clean is crucial. Cover surfaces with old towels or plastic sheets to protect them from spills and splashes. Wear protective equipment to protect yourself from direct contact with the dye.
Preparing the Yarn for Dyeing
Before dyeing your yarn, prepare it properly to ensure it adheres well and the color stays long. Below are the essential steps to preparing yarn for dyeing:
Washing the Yarn
The first step is to wash the yarn thoroughly. This helps remove any dirt, oils, and debris that may be present on the yarn. Opt for cold or lukewarm water and a mild soap or detergent devoid of fabric softeners or optical brighteners. Gently agitate the yarn in the water and rinse it several times until it is clear.
Soaking the Yarn
After washing, soak the yarn in clean water for at least an hour. This ensures the yarn is fully saturated and ready to absorb the dye. You can add a small amount of vinegar to the soak to help the dye adhere better.
Mordanting the Yarn
Mordanting is a critical process that helps the dye adhere to the yarn and stay longer. The most commonly used mordant is alum, which is non-toxic and safe for home use. Dissolve one tablespoon of alum per pound of yarn in hot water, then add the solution to a pot of hot water. Add the soaked yarn to the pot and heat for an hour, stirring occasionally. Afterward, rinse the yarn thoroughly in warm water.
By following these steps to prepare your yarn, you will achieve better dyeing results and create long-lasting, attractive yarn colors.
Choosing and Mixing Dye Colors
Customizing yarn colors is one of the most exciting aspects of dyeing yarn at home. With some knowledge of color theory and some practice, you can create vibrant and unique hues that will elevate your knitting or crochet projects.
The first step in choosing the right dye colors is determining the type of fiber you’re working with. Some fibers, such as wool, take dye better than others, so choosing a dye suitable for your fiber is essential.
When mixing dye colors, keeping track of the quantities used to achieve a specific shade or hue is essential. A general guideline is to use 3-4 primary colors at most to avoid muddying the final color. You can also experiment with different ratios and color combinations to create signature shades.
If you need help figuring out where to start, try practicing with a small amount of yarn or swatches until you find the colors you like. As you gain experience, you can easily replicate and adjust your favorite colors for future projects.
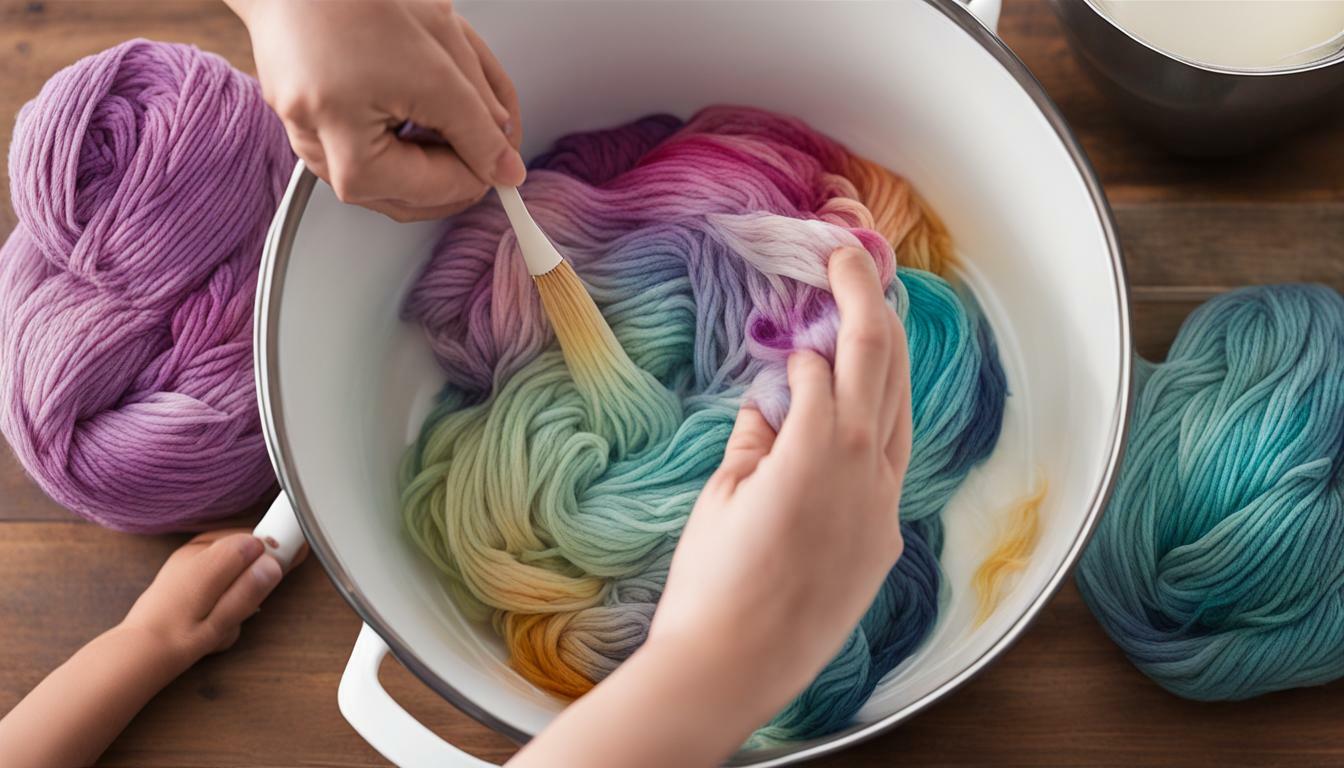
Dyeing the Yarn
Now that the yarn is prepared, it’s time to start dyeing. Several techniques for dyeing yarn include immersion, hand-painting, and kettle dyeing. Regardless of the method, the basic steps remain the same.
Step 1: Prepare the Dye
Commence by preparing the dye according to the guidelines furnished by the manufacturer. This typically involves mixing the dye with warm water and adding necessary chemicals. To prevent unintended skin contact or inhalation, remember to wear protective gear.
Step 2: Add the Yarn to the Dye
The next step is to add the yarn to the dye bath. Depending on the technique, the yarn may need to be fully submerged or partially dipped into the dye. Moving the yarn around in the dye bath ensures even coverage.
Step 3: Apply Heat (Optional)
Some dyeing techniques, such as kettle dyeing, require heat to achieve the desired color. If heat is necessary, gently simmer the dye and yarn mixture over low to medium heat for the time specified in the instructions.
Step 4: Rinse and Dry the Yarn
Once the yarn has achieved the desired hue, please remove it from the dye bath and rinse it extensively in cool water until it is clear. Avoid wringing or twisting the yarn, as this can cause it to stretch or deform. Softly press to remove surplus water, then hang the yarn to dry. Dry the yarn away from direct sunlight for best results to prevent fading.
By adhering to these instructions, you can effectively dye yarn at home using various techniques. Explore various colors and patterns to produce distinctive and customized yarn for your upcoming projects.
Fixing and Setting the Dye
Once you have successfully dyed your yarn, the next crucial step is fixing and setting the dye to ensure long-lasting color. Proper fixation will prevent the dye from bleeding or fading, ensuring your yarn looks vibrant for an extended period.
Begin by rinsing your yarn thoroughly with cold water until the water runs clear. This action will eliminate any residual dye that didn’t permeate the fibers. Then, soak the yarn in a solution of vinegar or citric acid and water for about half an hour.
After soaking, rinse the yarn again with cold water and apply a wool wash to set the dye further, following the manufacturer’s instructions. Softly press to remove surplus water and place the yarn flat to dry in an area shielded from direct sunlight and heat.
Once your yarn is dry, wind it into skeins or balls and store it in a cool, dry place away from sunlight. Label your yarn with all relevant information, including the date, type of yarn, dye used, and any notes on the dyeing process for future reference.
Finishing and Storing the Dyed Yarn
Once you have completed the dyeing process, you must finish and store your dyed yarn properly to ensure it stays in the best condition. Here are the steps to follow:
Step 1: Skein the Yarn
After dyeing, remove the yarn from the pot or container and lay it on a clean surface. Take care not to let the strands overlap or tangle with each other. To prevent this, you can use a skein-winding tool to wind the dyed yarn into a skein. This will keep the strands organized and easier to store or use for future projects.
Step 2: Twist the Skein
Once you have created a skein, twist it into a figure-eight shape before tying it off with scrap yarn. This will help prevent tangling and twisting of the yarn in storage.
Step 3: Label the Yarn
Before storing your yarn, label it with the date and colorway name or number. This will be useful later when referring to the specific shade you created.
Step 4: Proper Storage
Store the labeled and skeined yarn in an excellent, dry location, shielding it from sunlight and humidity. A plastic ziplock bag or a sealed container can help prevent moisture or dust from affecting the yarn. Be sure to check on it occasionally to ensure it is still in good condition.
Dyeing yarn at home can be a fun and rewarding process, and with these tips for finishing and storing your yarn, you can ensure that your creations stay fresh and vibrant for future projects!
Conclusion:
Learning how to dye yarn at home is a fun and rewarding experience that enables you to customize your colors and create unique projects. Following the step-by-step guide in this article, you can master the art of dyeing yarn and explore techniques like natural dyeing, hand dyeing, and dyeing wool yarn.
Prepare your workspace and assemble all the required materials before you begin the yarn dyeing procedure. Prepping the yarn through washing, soaking, and mordanting ensures better dye absorption and colorfastness.
Choosing and mixing dye colors is a creative process that allows you to experiment with color theory and achieve vibrant and attractive yarn shades and hues. You can try different dyeing techniques like immersion, hand-painting, and kettle dyeing to create unique color patterns and effects.
After dyeing the yarn, fixing and setting the dye by rinsing, washing, and drying the yarn is important. Finish and store the dyed yarn by skeining, twisting, and labeling it for future use.
Dying yarn at home is a satisfying and enjoyable activity that can enhance your knitting and crochet projects. We hope you have found this guide helpful, and we encourage you to unleash your creativity and explore the world of DIY yarn dyeing!

Vera Mondragon, a luminary in the yarn industry, weaves together her passion and expertise. With a knack for creativity and a love for all things yarn, Vera guides enthusiasts through the vibrant world of fibers, offering insights and inspiration for every crafting journey.